Managing Environments
Managing Environments involves:
- Editing or Deleting environments
- Importing metadata from different environments
To manage environments, follow these steps:
- Go to Application Menu > Data Catalog > Metadata Manager.
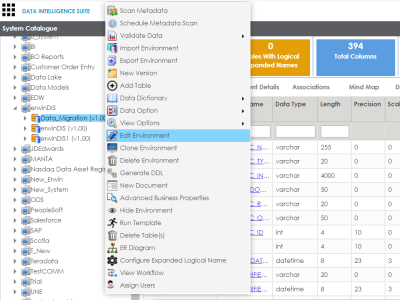
- In the System Catalogue pane, right-click an environment.
- Use the following options:
- Edit Environment
- Use this option to update the environment details.
- Note: Status of an environment is displayed according to the workflow assigned to the environment. For more information on assigning workflow to environments, refer to the Managing Metadata Manager Workflows section.
- Delete Environment
- Use this option to delete the environment.
- Import Environment
- Use this option to import an environment.
The options available appear.
You can update an environment by importing metadata from another environment. You can also create a version of the environment while importing the metadata.
To import metadata from an environment, follow these steps:
- In the System Catalogue pane, right-click an environment.
- Click Export Environment.
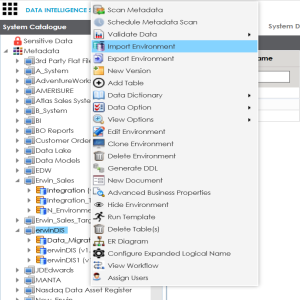
- Right-click the required environment.
- Click Import Environment.
- Drag and drop or use
 to browse the exported AMP file.
 - Click
 .
. - Select Schemas and appropriate import metadada options.
- Click
 .
. - Select the tables and click
 .
.
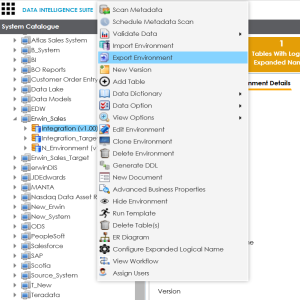
The environment is exported in the AMP format.
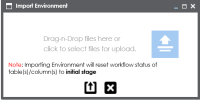
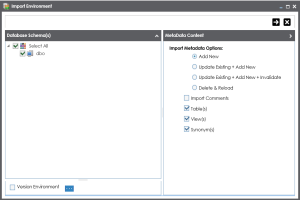
Note: Select the Version Environment check box to create version of the environment.
The environment is imported.
|
Copyright © 2020 erwin, Inc.
All rights reserved.
|
|